
How to Connect to MongoDB Atlas
You don't need a laptop to reach your Atlas cluster. Here's how to connect from Android or iOS in a few minutes - safely.
Short answer: to connect to MongoDB Atlas from a phone you need three things - the cluster's connection string, a Network Access rule that allows your phone, and a database user. Paste the string into a mobile MongoDB client like Byson, keep TLS on, and you're in. The most common failure is a timeout, which is almost always the Atlas IP allowlist.
Disclosure: we make Byson, a mobile MongoDB client with built-in SSH tunneling. The steps below work with any MongoDB client, but the screenshots are from Byson.
What you'll need
- An Atlas account with a cluster (the free M0 tier is fine).
- Permission to edit Database Access and Network Access in your Atlas project.
- A mobile MongoDB GUI on your phone - this guide uses Byson.
How to connect to MongoDB Atlas: three steps
The whole process is three steps - get the connection string, allow your network, and create a database user. Then connect in your client.
Step 1: Get your Atlas connection string
In the Atlas dashboard, open your cluster and click Connect → Drivers. Copy the SRV connection string. It looks like this:
mongodb+srv://<user>:<password>@cluster0.ab12c.mongodb.net/?retryWrites=true&w=majority
Two things to note:
- The
mongodb+srv://prefix is a seed list - Atlas resolves it via DNS to the real replica-set hosts. A good mobile client handles this for you. - There's no database name in the path (the part after the host). If your client needs one and you leave it blank, you may see
noTargetDatabaseSpecified. Byson injects a default (/admin) automatically, but it's cleaner to pick the database you actually want.
Step 2: Allow your phone in Network Access
This is the step people miss - and the reason most connections time out. Atlas blocks every IP that isn't on its allowlist.
In Atlas, go to Network Access → Add IP Address. You have three options, from safest to easiest:
| Option | How | Trade-off |
|---|---|---|
| SSH tunnel (recommended) | Allow only your jump host's static IP in Atlas, then connect through it | Most secure; needs a server with a fixed IP |
| Add your current IP | Atlas can detect and add the IP you're on right now | Mobile IPs change - you'll re-add it often |
| Allow 0.0.0.0/0 | Opens the cluster to every IP | Testing only - never leave this on for production |
Because phones jump between Wi-Fi and mobile data, their IP changes constantly. That's why a fixed-IP SSH tunnel is the clean answer for ongoing access - you can also reach Atlas through an SSH tunnel, and Byson supports SSH tunneling so you don't have to open Atlas to the whole internet.
Step 3: Create a database user
In Atlas, go to Database Access → Add New Database User. Use password (SCRAM) auth and give the user the least privilege it needs - read-only if you're just browsing. Avoid reusing an admin account on a mobile device.
Step 4: Connect in Byson
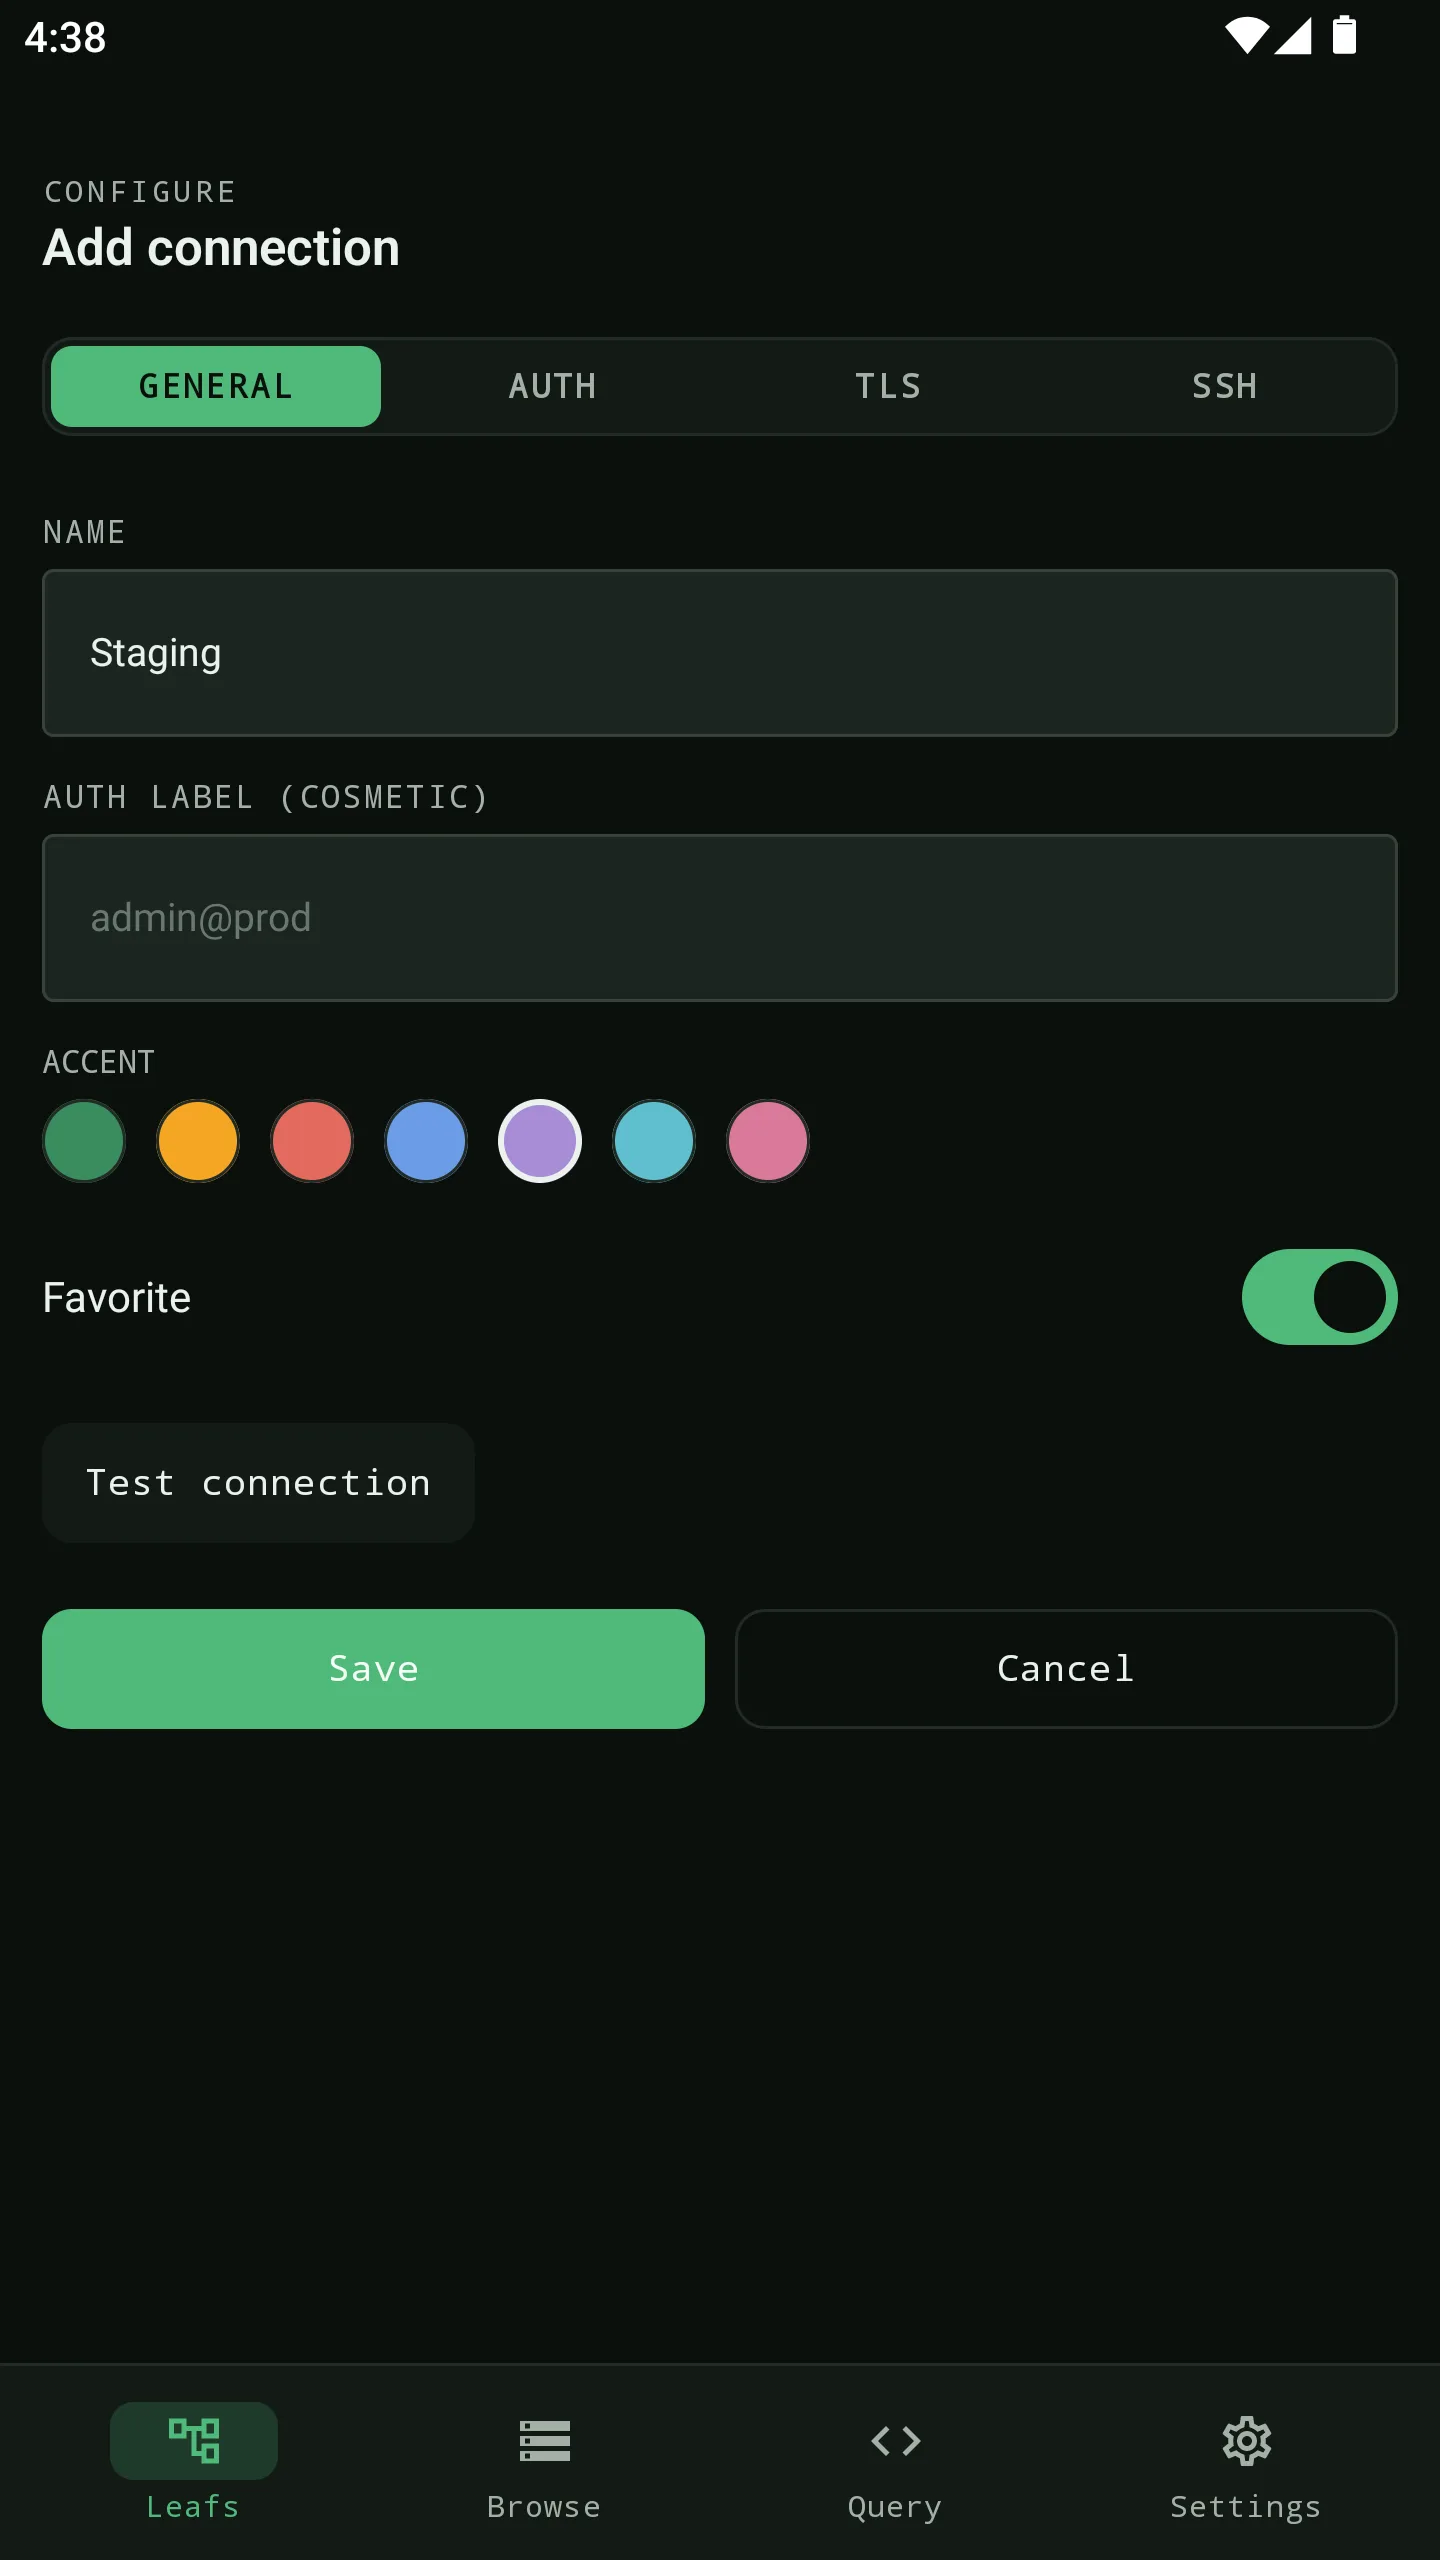
Open Byson and add a new connection:
- Tap + New connection and give it a name (e.g. "Atlas - production").
- Paste the SRV string, or fill the host, user, and password fields by hand.
- Make sure TLS is on - Atlas requires it (Byson uses the system CA).
- Pick a database (or let Byson default to
admin). - Tap Test. A green result means you're connected; then Save.
Once saved, open the connection and you can browse databases and collections, run find and aggregation queries, and analyze schemas - all from your phone.
Troubleshooting
| Symptom | Most likely cause | Fix |
|---|---|---|
| Connection times out | Your IP isn't allowed | Add your IP (or jump-host IP) in Network Access |
| Authentication failed | Wrong user/password or auth source | Recheck the database user; Atlas uses admin as the auth source |
| noTargetDatabaseSpecified | Blank database in the URI | Add a database name, or rely on Byson's default |
| DNS / SRV resolution error | Network can't resolve the seed list | Switch networks, or use the non-SRV (mongodb://) host list from Atlas |
That's it
Connecting to Atlas from a phone comes down to three doors: the connection string, the network allowlist, and a database user. Get those right - and keep TLS on with a tight Network Access rule - and you have a full MongoDB workflow in your pocket.
Official reference: MongoDB Atlas - Configure IP Access List.
Connect to Atlas from your phone with Byson
Free on Android and iOS. SSH tunnel, TLS, and encrypted on-device storage built in.
FAQ
Can I connect to MongoDB Atlas from my phone?
Yes. Atlas accepts connections from any device over a TLS-encrypted SRV connection string. With a mobile MongoDB client like Byson you can connect from Android or iOS once you've allowed your network in Atlas and created a database user.
Why does my Atlas connection time out from mobile?
A timeout almost always means your phone's IP isn't in the Atlas Network Access allowlist. Mobile IPs change often, so add your current IP, connect through an SSH tunnel with a static IP, or - for testing only - temporarily allow 0.0.0.0/0.
Is it safe to connect to Atlas from a phone?
Yes, if you use TLS (Atlas enforces it), a least-privilege database user, and a tight Network Access rule. Byson encrypts your connection details on-device and supports SSH tunnels so you don't have to open Atlas to the whole internet.